PrintNode.com is a paid service (~$9) with a trial period of up to 150 free prints. You can find the rates on the official website.
Step 1
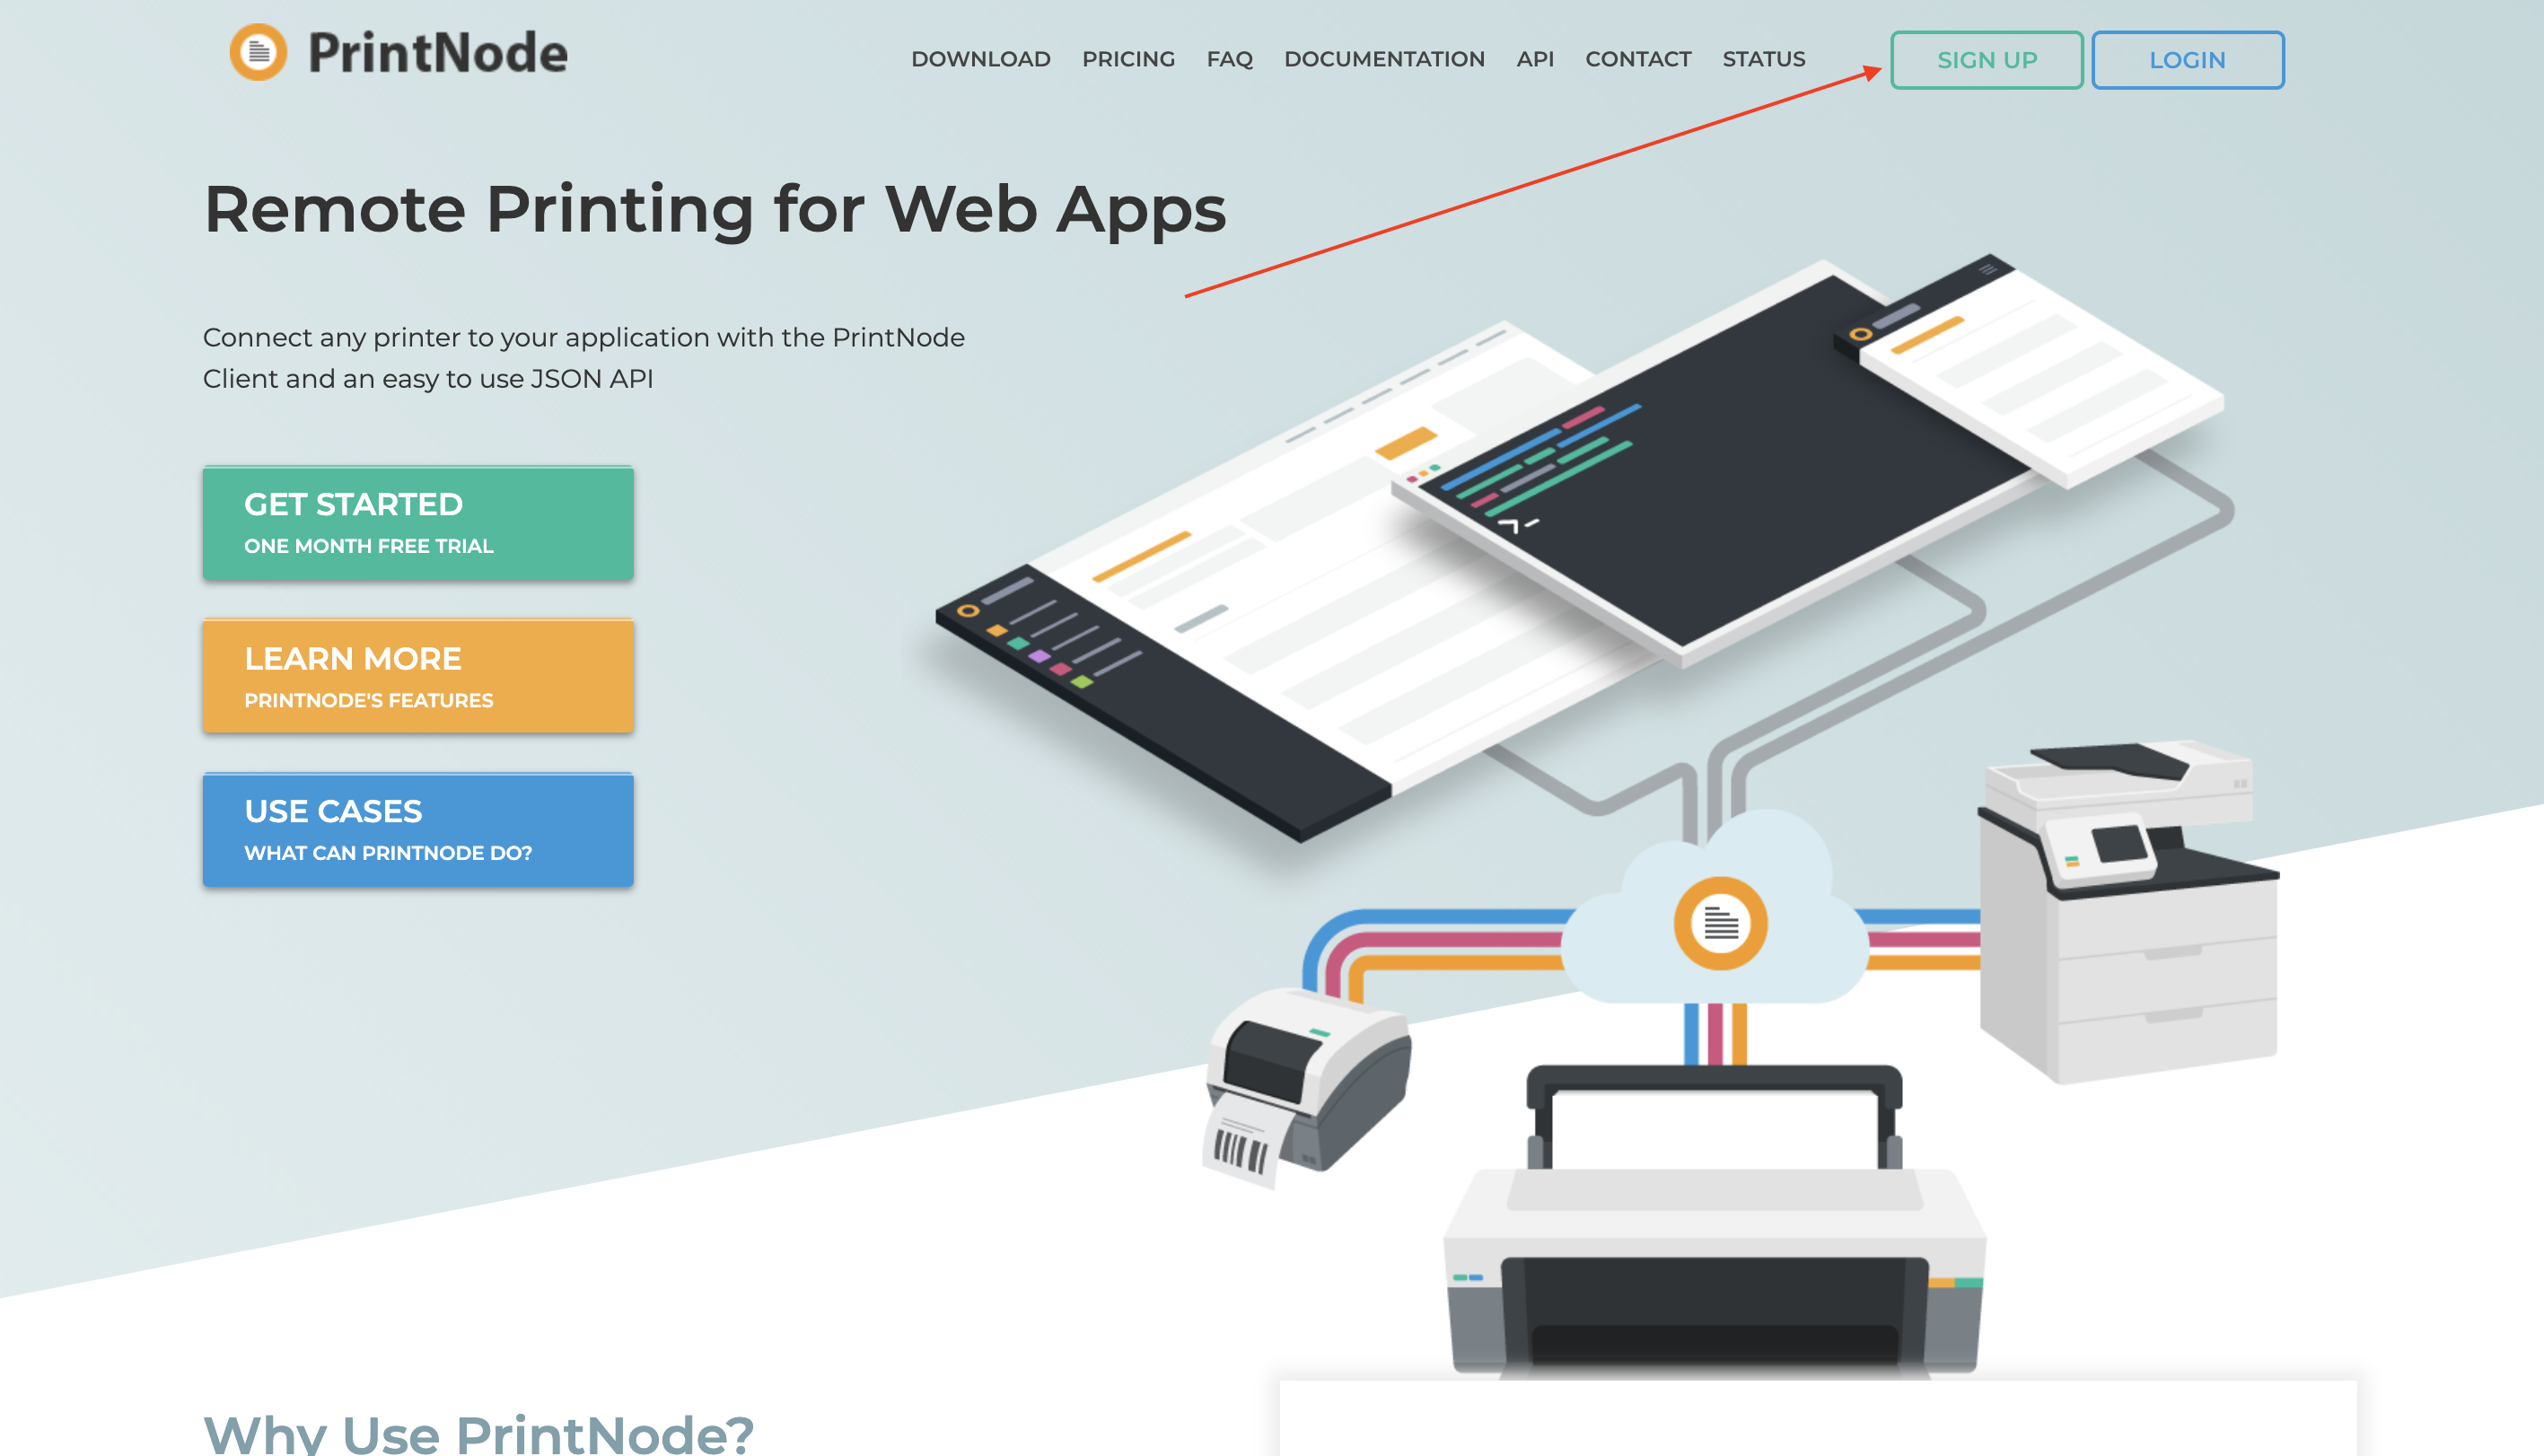
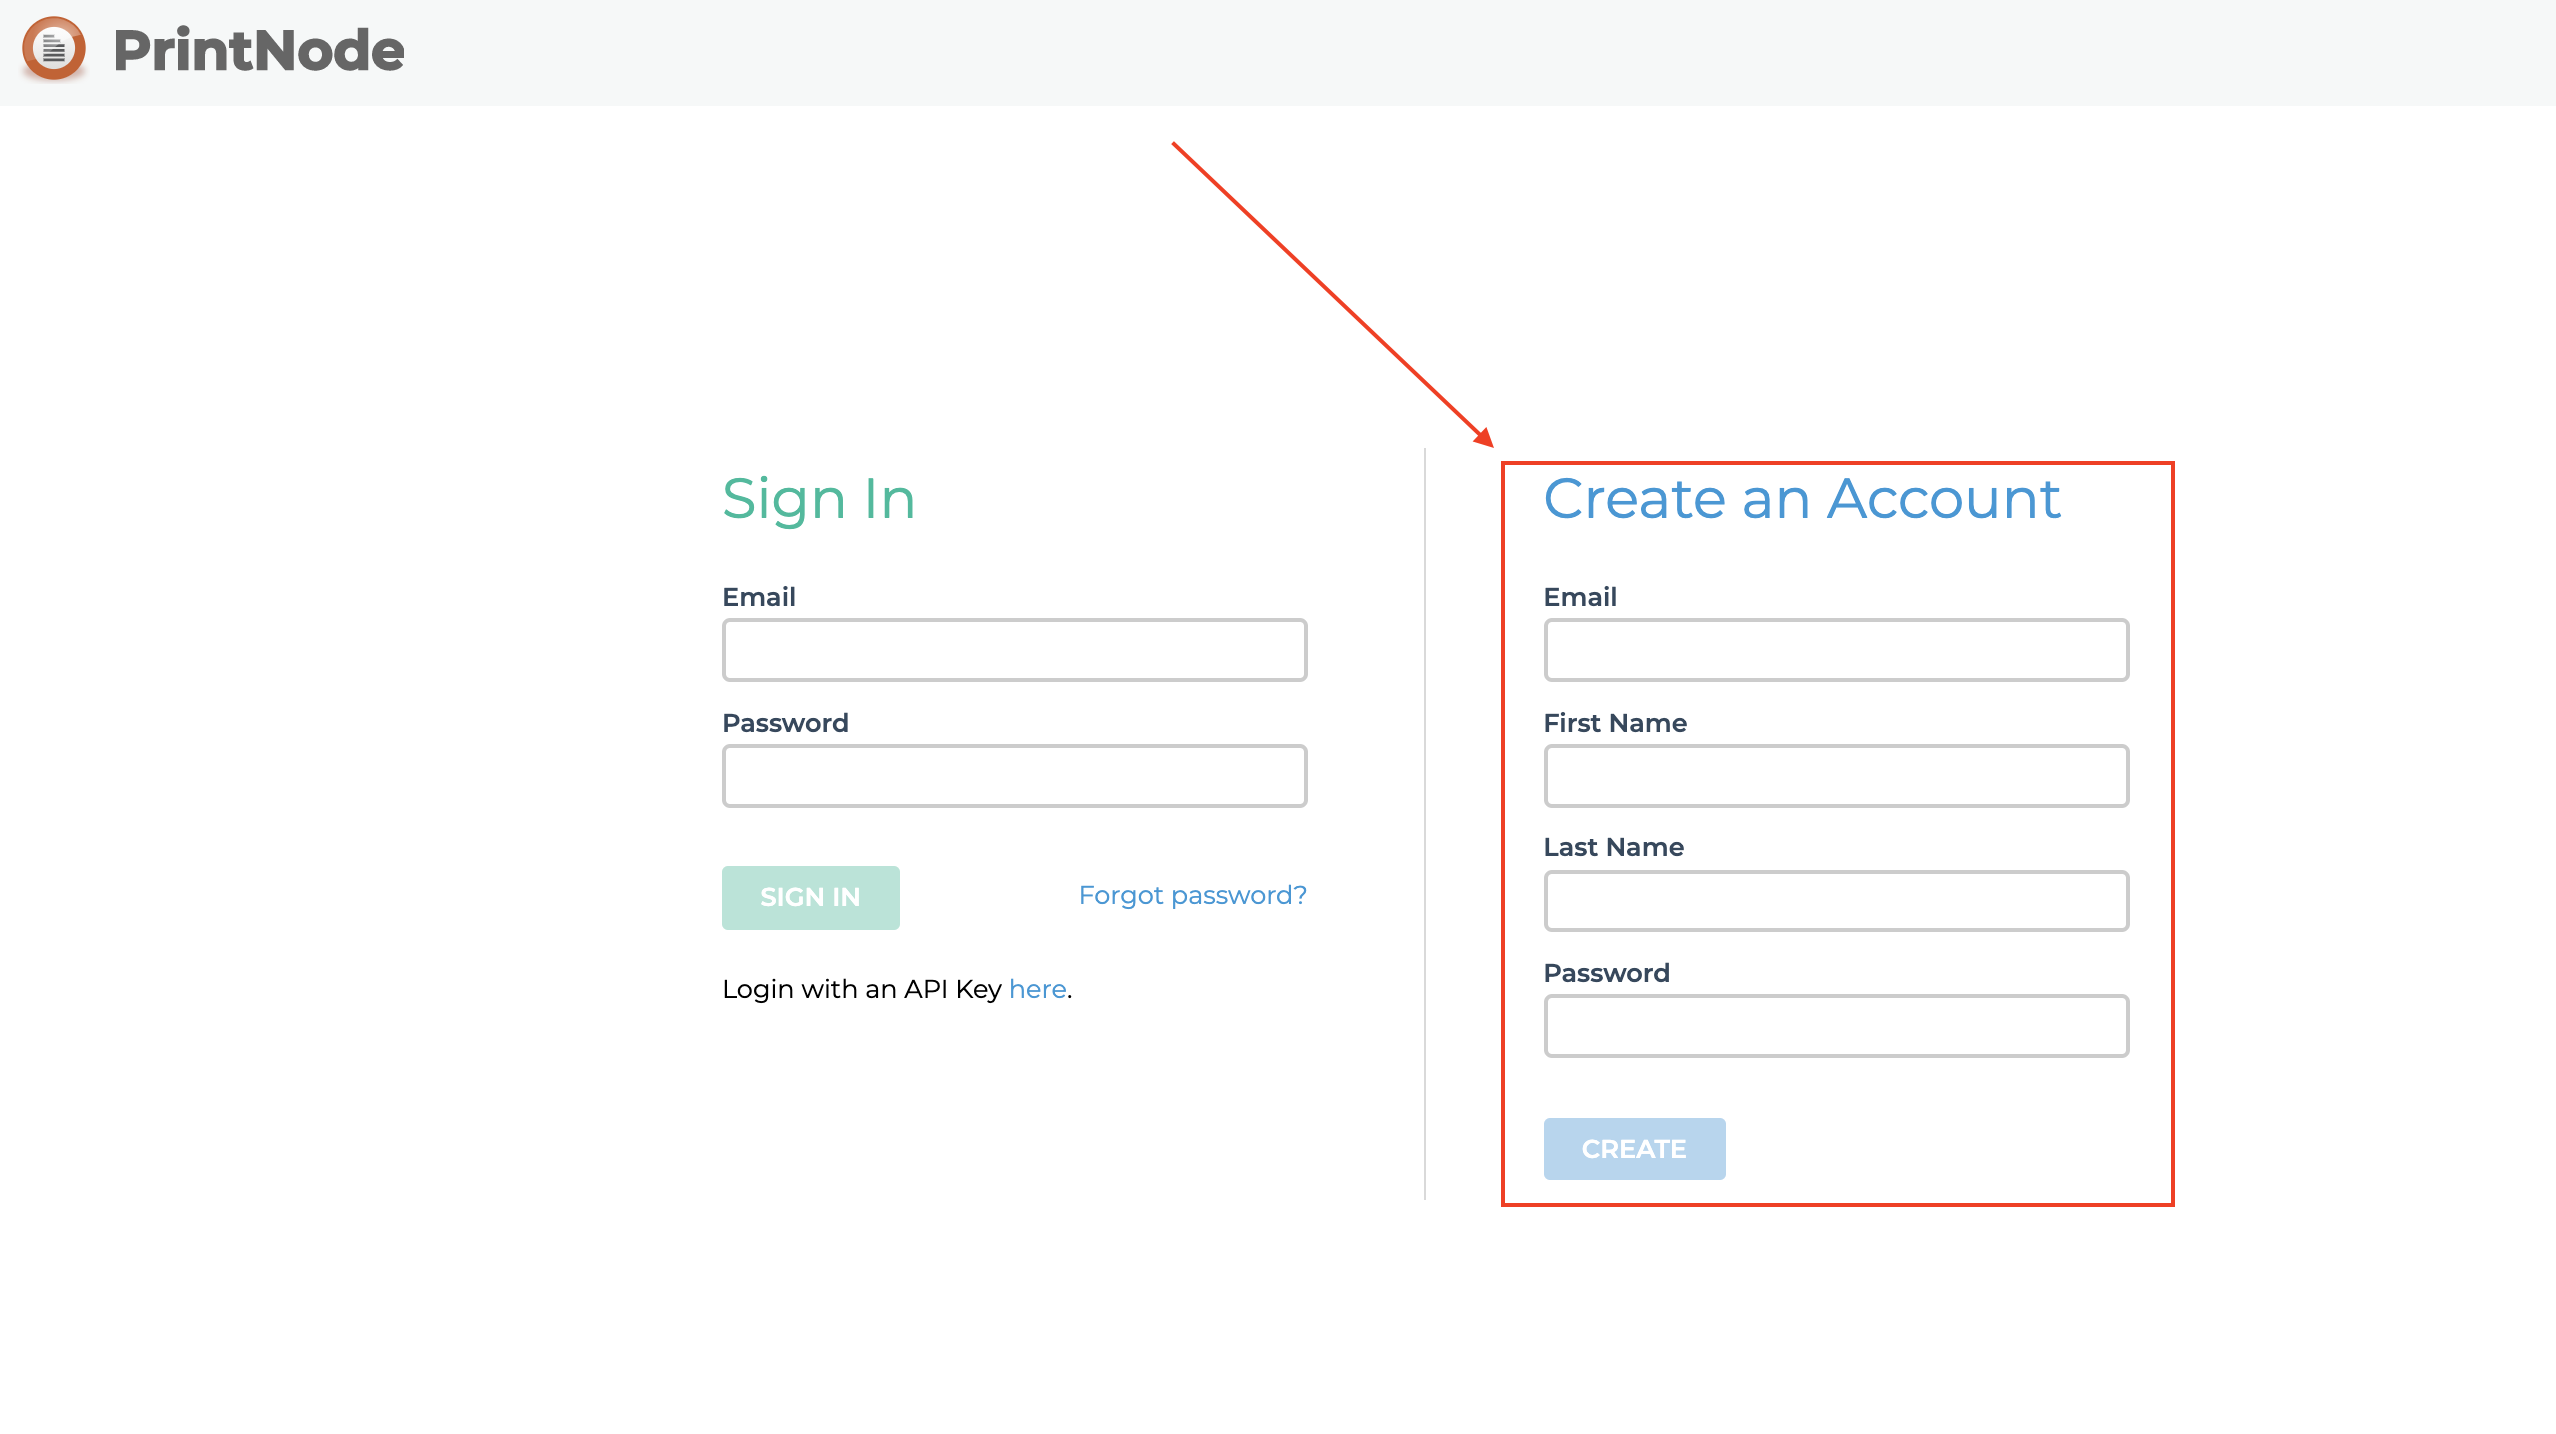
Go to https://www.printnode.com/en and register.
Step 2
Upon registration, verify your email address by following the link provided.
Step 3
Switch to the "API Keys" section by following the link at the top right of the website.
Step 4
Enter the password specified during registration and press the "NEXT" button
Step 5
Type any line in the suggested form (e.g. "CARRO") and click "CREATE". If you did everything right, a key required to connect to our accounting system will be generated. Copy it.
Step 6
Go to the "Print Documents" section of the company settings on CARRObiz.com and click "insert API key". Insert the key you copied from PrintNode.com in the pull-down menu and click "Log in". If you did everything right, you will see the message "Successful authorization".
Step 7
To complete the setup, you need to download and install the application on the computer to which the printer is connected. To do so, go to https://app.printnode.com/app/downloads. Attention! Be sure to download version 4.24.0, not the current one. Find it lower on the page and click the "DOWNLOAD" button next to the operating system your computer runs on.
Step 8
Once the application is installed, launch it and log in to your account using the email and password you specified during registration at PrintNode.com.
If you get a "Resolving timed out after 7111 milliseconds" or similar error message when logging into your account, go to the application settings section by clicking on the "Network settings" button under the password input field. Next, you need to change the "Curl" value of the "Network" parameter to "Requests" and return to the login window by clicking on the "Back to login" button. Enter your email and password and login again.
Step 9
This is the last step. Once you have successfully installed the application and logged into your account, your printer data will be sent to PrintNode.com. Now you have to go back to the company settings on CARRObiz.com and go to the "Print documents" section. By this time you should have entered the API key from PrintNode.com. If you have not done this, go back to step 6. Then you need to update the list of available printers by clicking the "update" button and choose the default printer.
Important: this application must be running on the computer connected to the printer. This is important both for label printing and for setting up its operation.
Congratulations! If you have done everything correctly, your printer and software will be ready to work.
Tip: If you want to use different printers to print labels and documents or use other devices in different warehouses, go to your account settings by clicking on your name at the top of CARROBIZ.com -> "Personal Information". It has 3 personal settings for your account: "Printer for label printing", "Printer for document printing", "Print QR code after entering the part".
The first time you print, you need to set the print size on your computer. To do this, take a random file, click "File" -> "Print". Following the slides below, set and save the required label size in the settings.
1. Select "setup/settings".
2. Next, choose the settings name. If this field is empty, click "New", if not - click "Change".
3. Set the required label size and save
Setting the standard paper size on Mac computers
To begin, you should create a paper format and name carro. For this, open any document or image -> file -> print. Next, choose the paper size and create a custom format.
Then, set the default paper size.
- On your Mac computer, choose "Apple" > "System settings", then click "Printers and Scanners".
- Click on the "Default paper size" pop-up menu and then choose the paper size.
Read more on https://support.apple.com/ru-ru/guide/mac-help/mh2...